
Creating Your First 'Profile'
A profile stores information about the folders or files you would like to backup or synchronize using SyncBackSE. Profiles can be very specific as to what, when, and how a given task is performed, but we are going to be concentrating on creating a simple backup profile.
The Profile Setup Wizard walks you though the process of setting up your profile. The default settings make setting up a Backup profile a very simple process.
Click the "New" button located on the lower left of the program window:

Alternatively, choose "New" from the Profile menu:

The Profile Wizard window will appear. Enter a name for your new Profile:
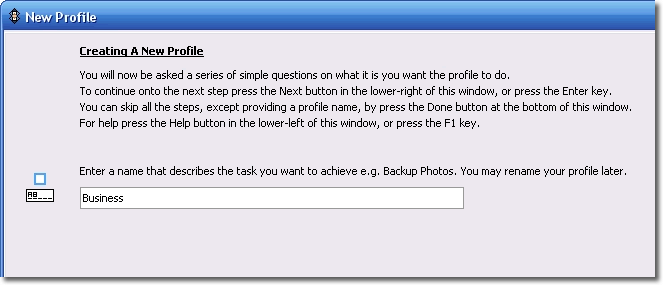
Click "Next" located at the lower right of the window.

For this example we are creating a backup profile which is the default option:

The wizard will ask whether you wish to use FTP (File Transfer Protocol). FTP is used if you are backing up over the Internet. As the default "No FTP" option is selected by default, you need only click the "Next" button.

The wizard will now ask whether you wish to compress your files into a zip. Once again, the default option is being used in our walk through. The "No Zip Files" option has been selected:
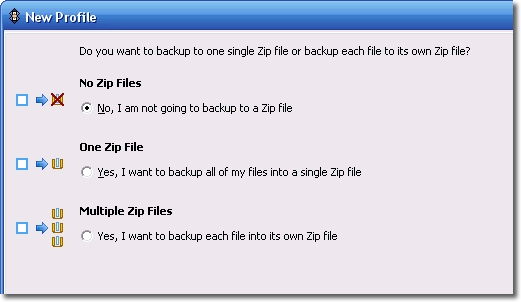
Click the "Next" button on the lower right. The wizard will now request you enter a name for the source (where you are copying your files from), and that you select the location of the source by clicking the folder icon button:

When you click the folder icon a "Browse For Folder" window will appear in which you will locate your source. Click OK:
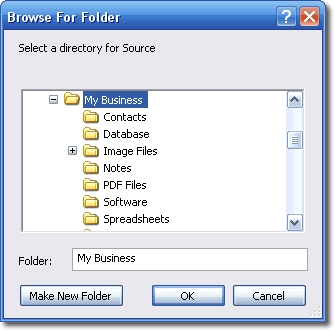
The folder selection field will now show the full path to your source.

Click the "Next" button. The choose Destination window will open.
Enter a name and select the location for where you wish to make a backup of your files to (the destination) in the new screen:

When you click the folder icon a "Browse For folder window will appear in which you will locate your destination. Click OK:
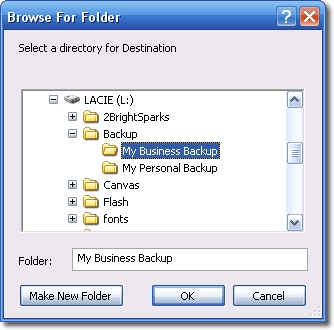
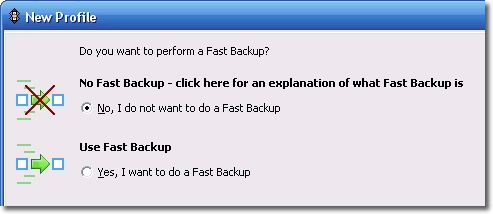
After clicking the "Next" button on the destination screen you will be asked whether you wish to make a Fast Backup. Choose the "No Fast Backup" default option:
Click the "Done" button:

You have now setup your backup profile. A small informational window will appear informing you that the main Profile Setup Window will open:

The Profile Setup Window allows you to check your choices.

Click "OK". A Window will open which asks whether you would like to perform a simulated run. This allows you to check the profile functions correctly without actually copying any files. Click "Yes":

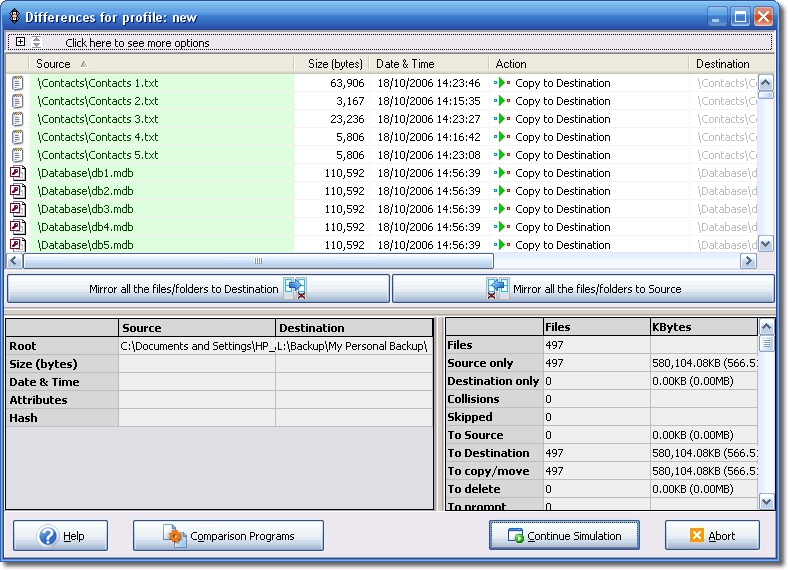
The Differences window will appear that shows all the files that would be copied in an actual run. Click "Continue Simulation":
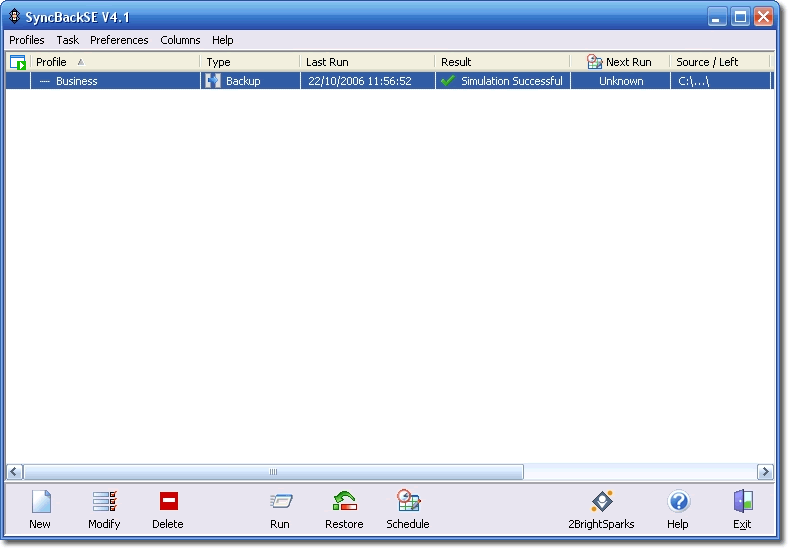
The main program window will now open. You may now run this backup profile at any time by selecting a profile then clicking the "Run" button:
The final section of this Quick Start guide shows you how to Run Your Profile.
All Content: 2BrightSparks Pte Ltd ⌐ 2003-2006


